|
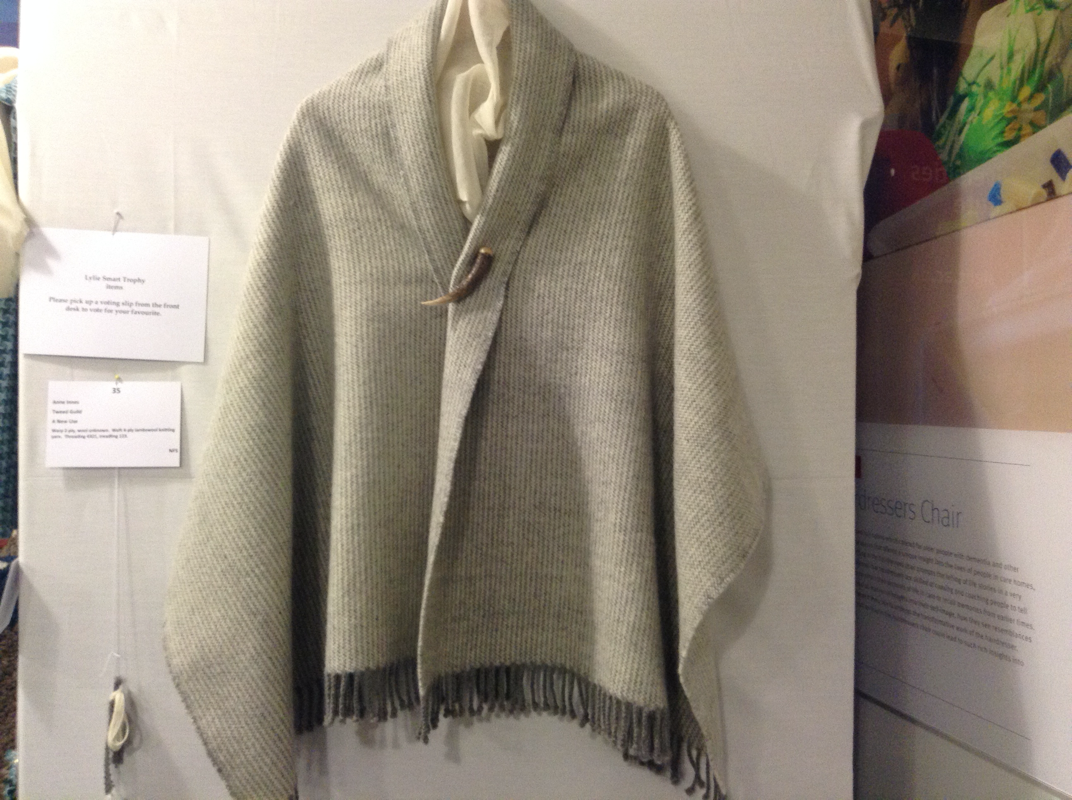
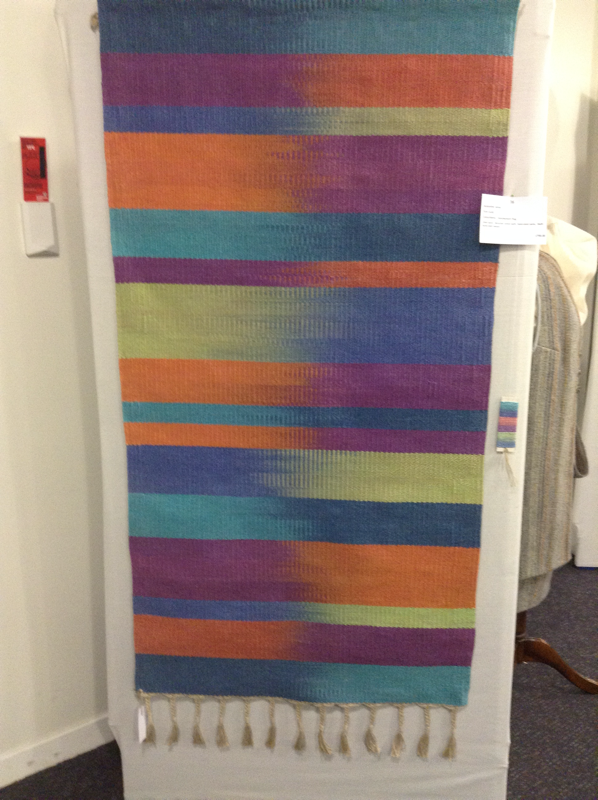
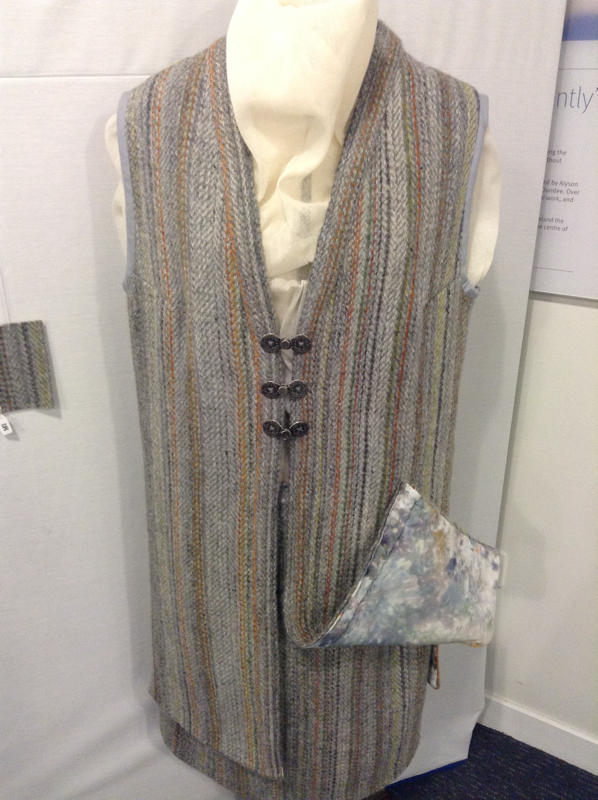
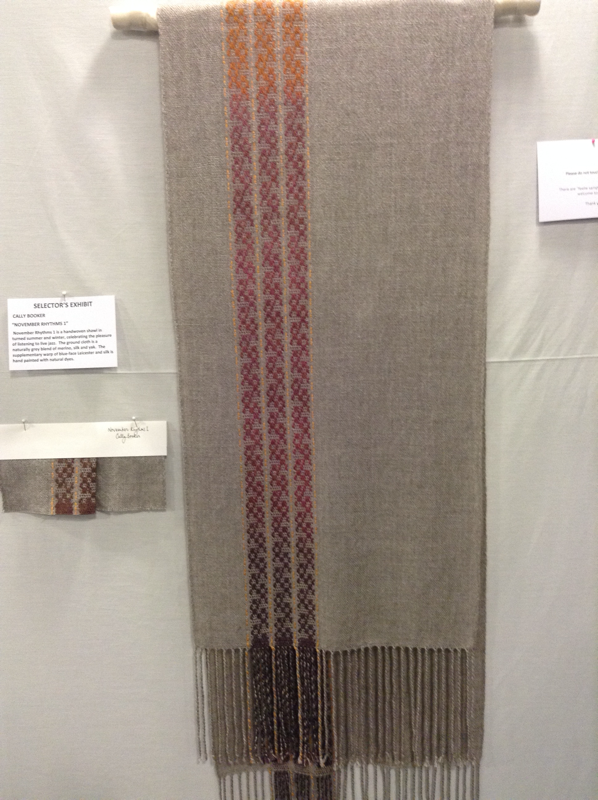
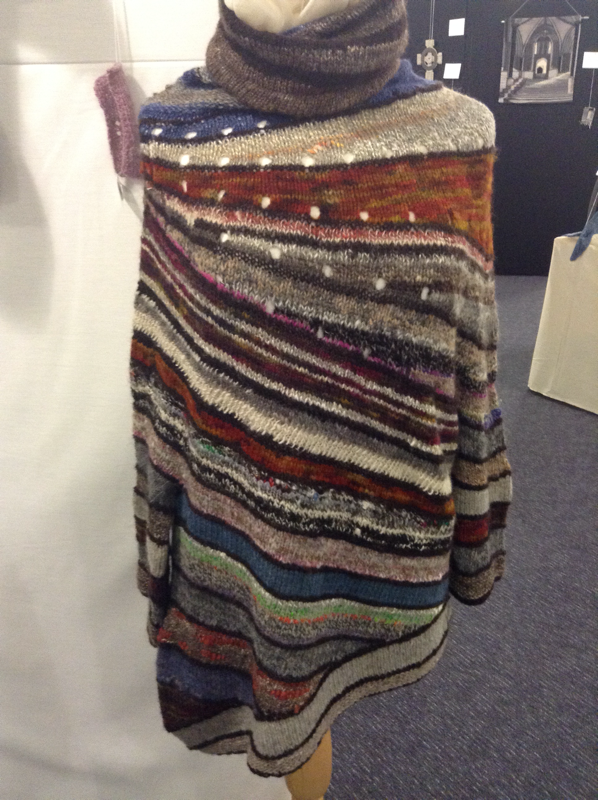
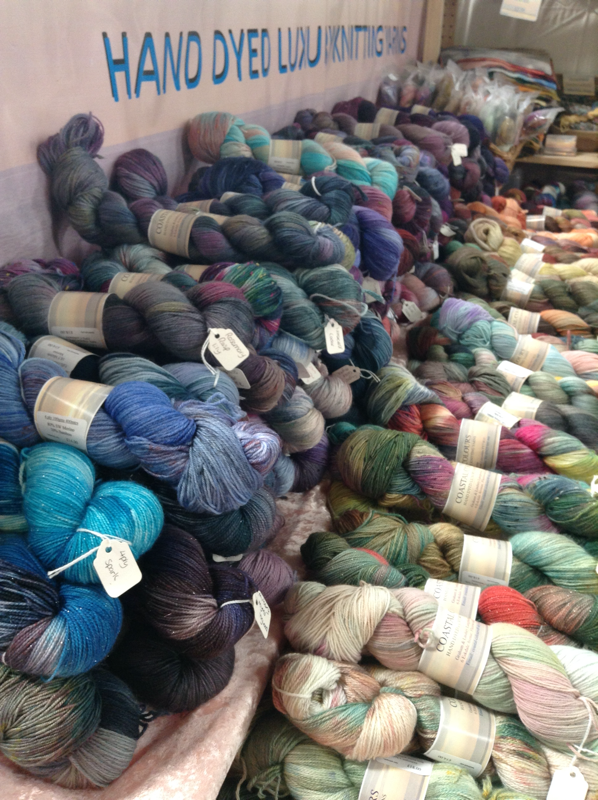
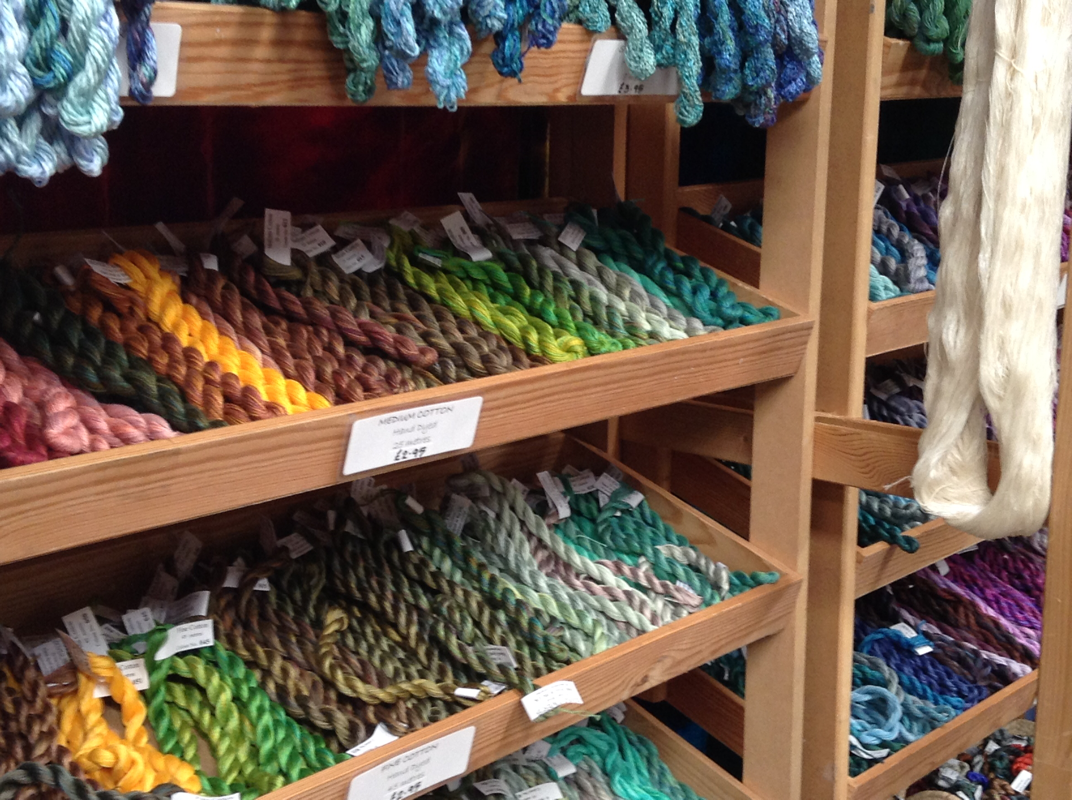
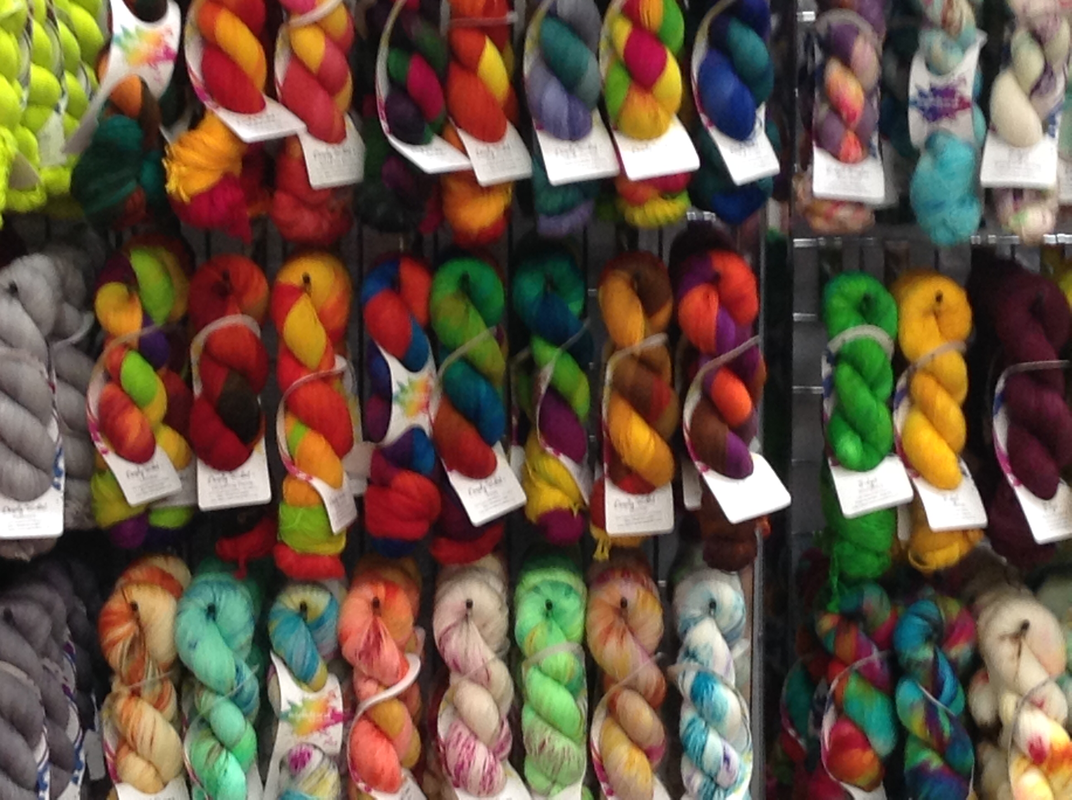
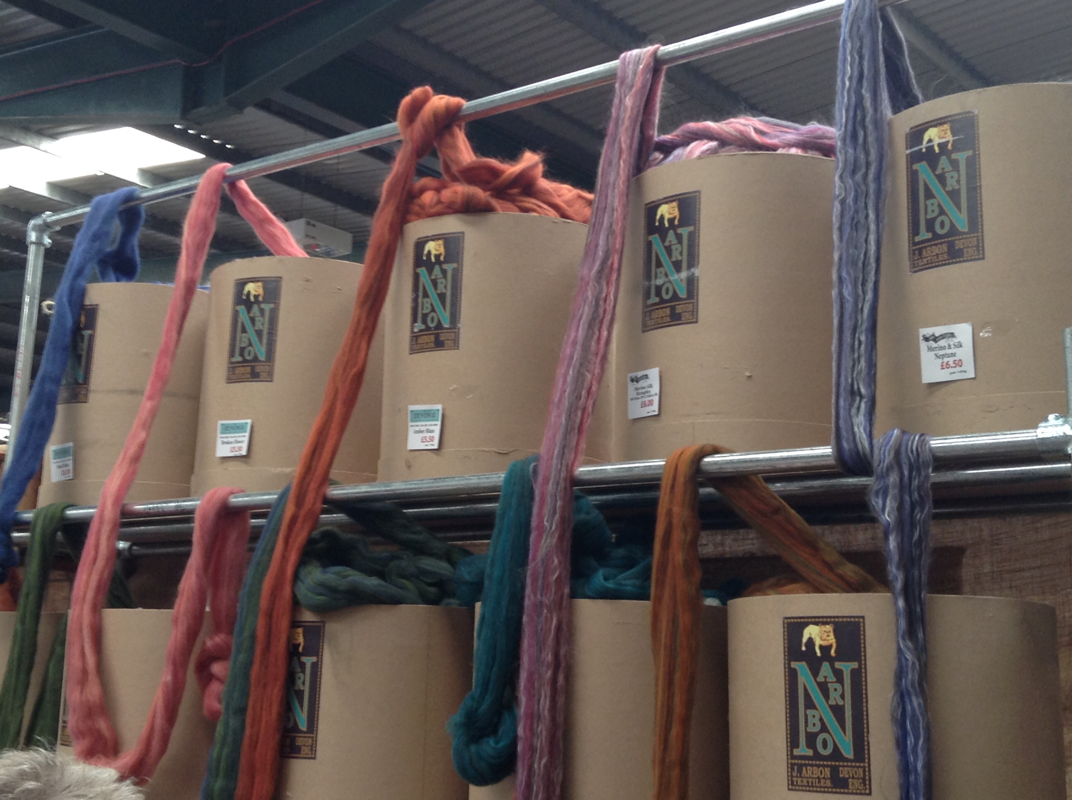
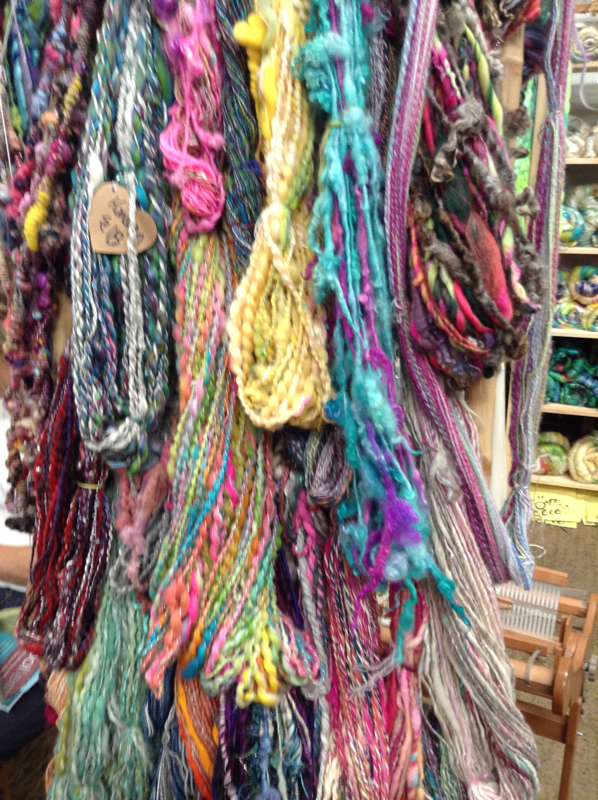
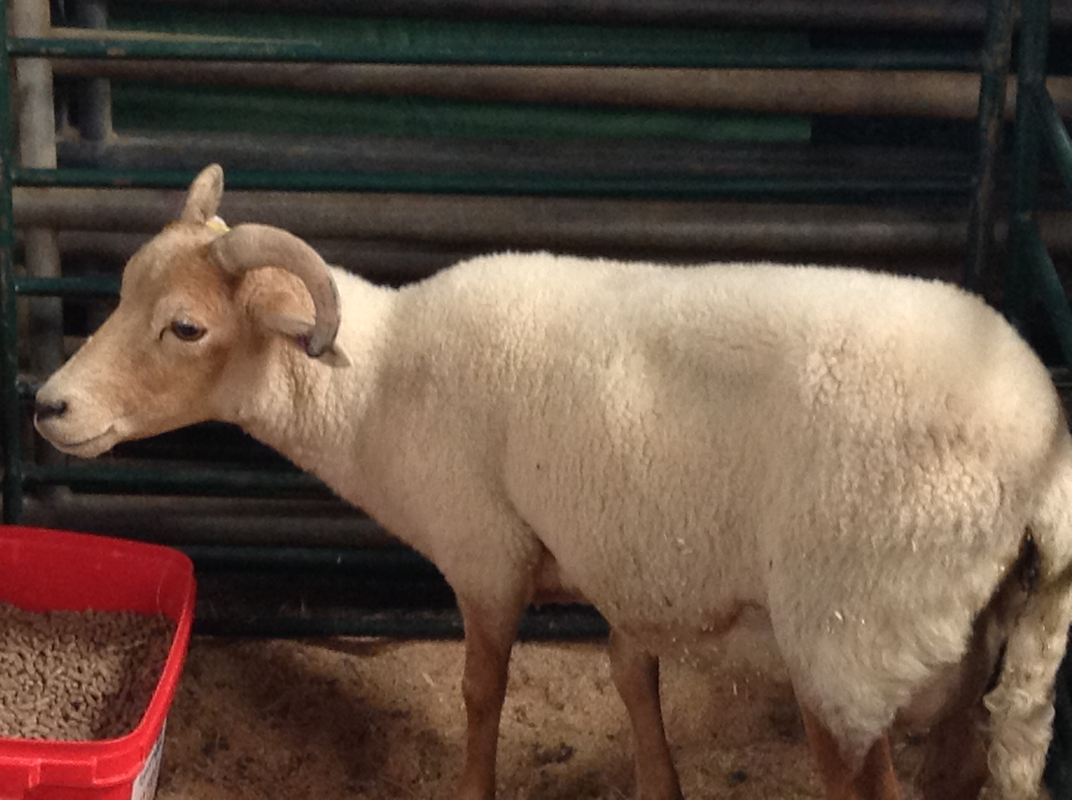
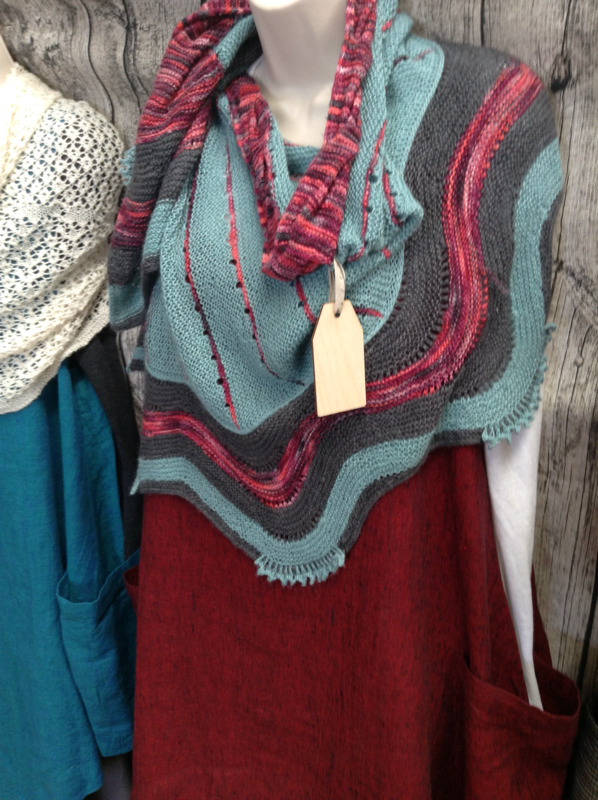
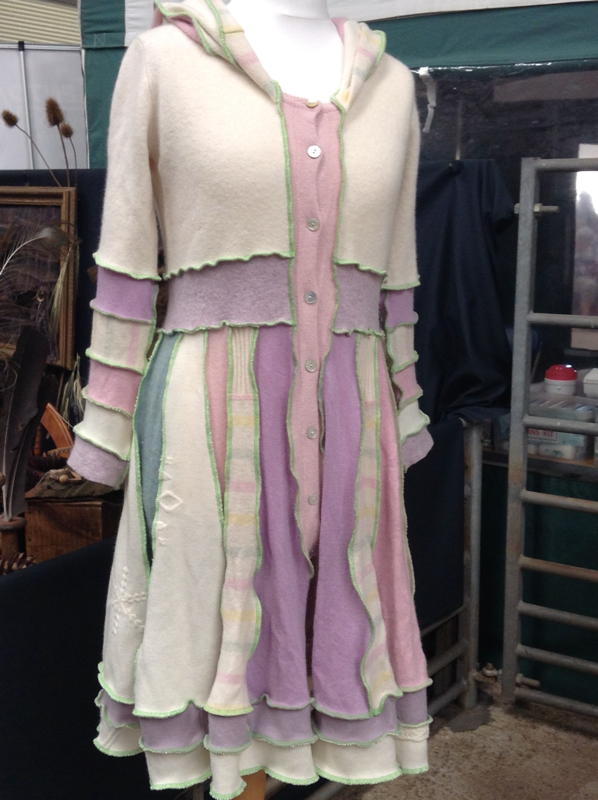
There are lots of pictures to show you, so this post and those that follow will be piccie rich, talky poor. As the exhibition is close to home, of course it was a must visit. Those involved in producing the work should be very proud of the skill used to create their pieces. Those who put this exhibition together have produced an amazing visual treat. Well done to all involved. I know some couldn’t get there - this is for them and as a record of what it is possible to achieve in our field. Lastly, I really couldn’t take a photie of every last piece, but what you see here is more than just the highlights. And be aware, my photos weren’t taken with a “proper” camera taking lots of time over each, so sorry for the quality. Plus (alert - tradesman making excuses for his poor tools) the way the photos come out here is very hard to curate!! Without further ado, enjoy. It has been a few years since I was able to get to Woolfest. France has some wonderful woolly festivals, but often you are lucky if they are in your area, so I have missed Woolfest (and Wonderwool Wales) a lot. To go this year was a massive treat and reminded me what we had been missing. I also did a stint on the OLG stand, with old friends and new - speaking English is so great!! So without further ado, here’s some piccies of the day. If you can get along to these festivals, do. Have a budget in mind and stick to it, but other than that, go a little crazy - I have never regretted any purchases 😁. This is woolly goodness at its best! Now then, how cool is this. I’m blogging again so soon! Now I have gratuitously congratulated myself, let’s get down to business. Christmas was THE most relaxed and wonderful Christmas for many a year. It was delicious. So, I was able to invest lots of time in spinning (which added to the deliciousness). So I thought I would share those yarns and how they were made. Firstly, I really wanted to make a good (if I do say so myself) bead yarn. Bead yarn is not for the faint hearted, as there are various processes to make it. So, I decided to cut one part out, by using a cotton yarn to ply with, so I didn’t have to make a 2 ply yarn (cheating, but....). Then I made an overtwisted thick and thin from the commercially prepared fleece. Overtwisted because once the two yarns are plied together to make beads, you reverse spin the same area a lot, so you don’t want it to come apart. This is the result. 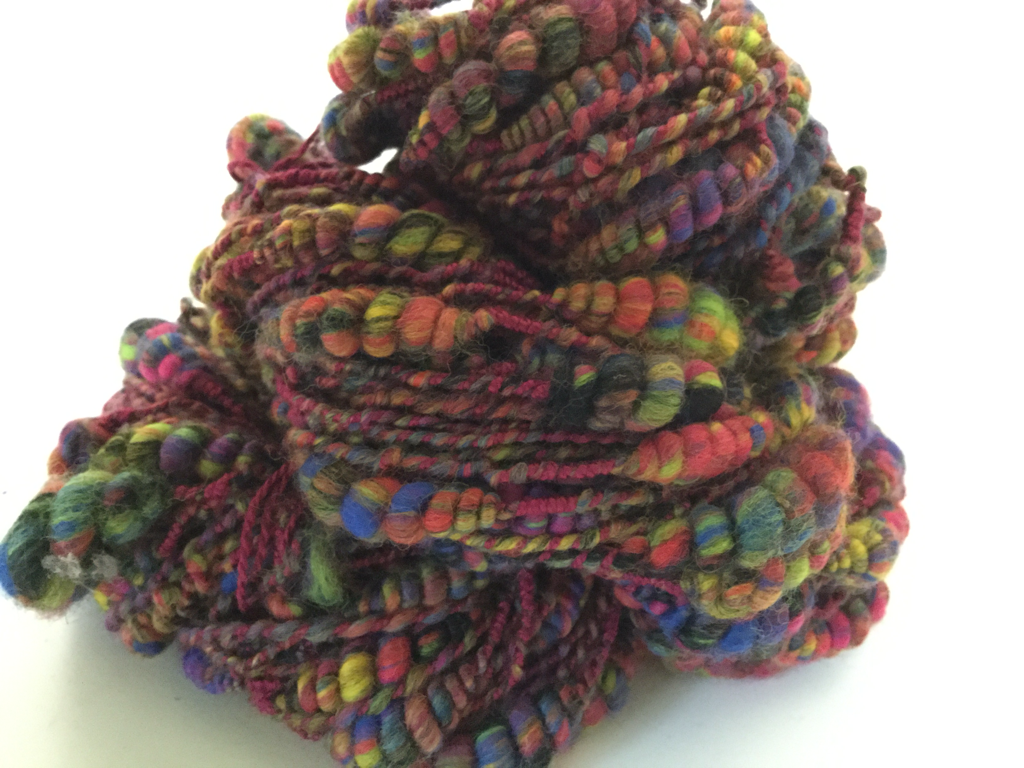 The next yarn was the same fleece, but spun as a single, with a little overtwist so that I could full it once finished, to make a stable and substantial single. Because of the wonderful colours in the blend I used, I didn’t want to ply and lose all that loveliness in it becoming muddy.  Next, I used a merino and silk blend, and this time, did make an overtwisted 2 ply yarn. Overtwisted because the next step was a thick and thin that I just wanted to ply with, but again, there is a chance of the yarn coming apart if you are not careful, so overtwisted is best. So, rather than make beads, this time I just plied the thick and thin with the 2 ply. It could be argued that a single, rather than 2 ply would have worked, but 2 ply, although extra work, does give a more stable yarn to ply with. 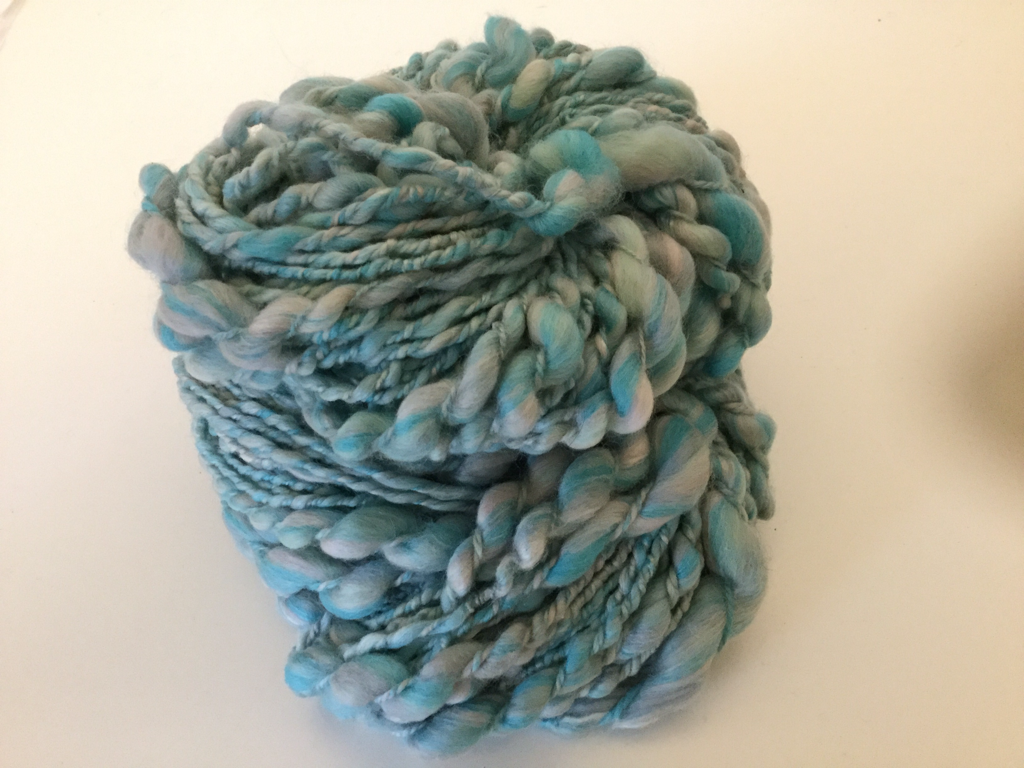 As it is almost impossible to not have a little bit of single left when making a 2 ply, I decided to make another new art yarn from the leftover. Often, I will Navajo ply the remainder, continuing on the same bobbin from the 2 ply. But, I end up with bits are that a bit useless. I plied the leftover blue with a gold thread and dark blue lurex thread. The lurex was allowed to do what it wanted as I sat spinning. Interestingly, it was fairly even! The gold and blue were alternately plied back on themselves to create small beady areas. Because of the gold thread, it is quite a harsh yarn, so will need to be used thoughtfully and not next to the skin, but it is very pretty (blimey, blowing trumpet again, this just won’t do!) 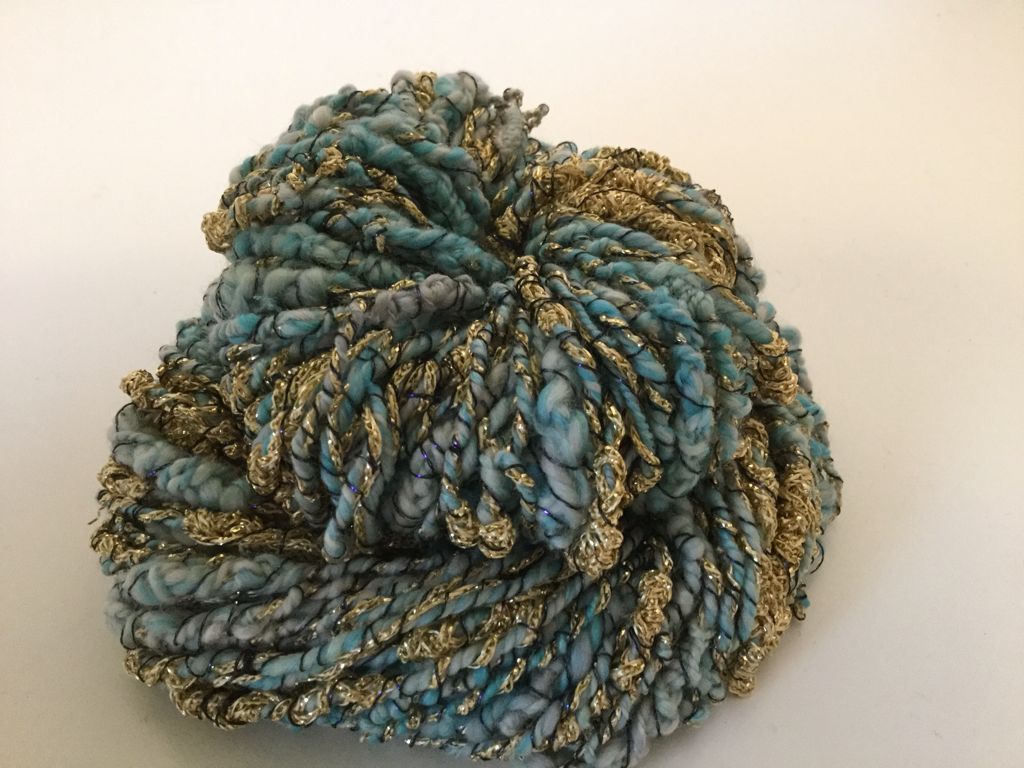 Finally, I spun 200g of white merino, which I won’t add a piccie of - tad boring. However, it won’t be when it is dyed later on. Natural dyes will be used and I can’t wait to get back to it when the weather improves. Not for the dyeing as such, but the drying thereafter.
So there, a productive time and lush. Life doesn’t get better than this! Love and light.xx Well, I've gone and done it. A saori loom has entered the house! As I mentioned, I fell out of love with weaving. Mainly because all the looms I have had bar one have been a pain, in one way or another. Now you may say a bad workman blames his tools, but I think one size does not fit all. I got fed of making warps; I got fed up of expensive looms not performing and as a result I no longer enjoyed what I was doing. I sold my octado and eventually kept just Ken (see previous post) and one rigid heddle. Now - I do love floor looms, if I am going to weave at all. The rigid heddle loom is great, but has limitations and Ken - well he has needs that was part of the boring bit of weaving. So, a search later and enter the world of Saori. Firstly, let me introduce you to Jennifer:  Saori WX60 Basically she is a 2 shaft floor loom. Her maximum weaving width is 60cm and get this - you can buy ready made warps up to 30m long!! Now I do intend to make my own some time as well, but to be able to getvones already made is perfect. They are available in black, white, cotton, wool and colour combinations. The one you see on the loom, is the original 6m warp, which not only came with the loom, but was already threaded through the shafts and reed! My idea of heaven. I have purchased 2 other ready made warps, one black wool (this one is cotton, but I am a wool girl) and raspberry something or other - basically 6m of raspberry coloured different warps. Lish! I've had it a week, and nearly finished the first 6 m warp - mostly because it is 38 degree heat outside, and quite frankly there is very little you can do! With this warp I have been playing. The philosophy with Saori is that there is no such thing as a mistake, only a design creative. Mmmm - I'm liking this, although it is hard to think like this when all your weaving life has been aimed at creating perfection. But Misao Jo, the Japanese lady who created this form of weaving over 40 years ago, wanted weaving to be an art form made using creativity that a machine would be unable to do. You are not taught saori weaving, only the basics of how to do it, then use your own creativity to make cloth.  First few inches of cloth It is so simple, with a wonderful big shed and lots of lovely little details that show how well thought out the loom is. I am in love! You can get a 4 shaft version, and I may invest in updating Jennifer at some time, but for now, she is perfect just the way she is, and I am happy making cloth again!! And , I have a couple of books on creating clothes with simple designs. This could be where the wheels come off, because I may look awful in them, but for now this is a great deal of fun.  A bit of clasp weft and some fluff  Some stars added, just for fun and just because I could. No rules!  Hand dyed yarn, with a thick hand spun art yarn interspersed  Hand dyed yarn with matching fleece wedged intermittently  Black and white (I know - the white isn't showing as white, but it's still on the loom and not flat) clasp weft created on the summer solstice for equal night and day  Her home in my studio, next to my hand dyed hand spun area. So, weaving is back on the agenda and I'm loving it. I will keep you posted on cloth made, garments made and more adventures in weaving. This doesn't mean spinning has stopped. Far from it. I am beavering away during the evenings making white yarn for dyeing, because next on the creative path is an indigo dye vat. All ingredients are in the house I just need to get on with it. The loom has kind of taken all my spare time after working in the permaculture garden and renovating the house. But I can't wait to do indigo, and as the natural dye garden is starting to develop, I really do need to get back to some dyeing as well. Now where did I put those extra hours in the day I ordered............
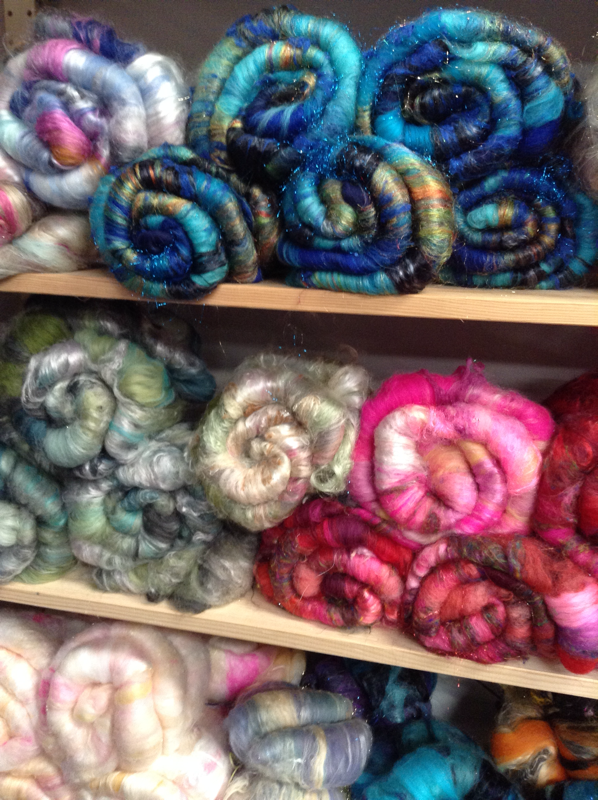
I have been trying to catch up recently with all things Spinning Shed. When the stuff hit the fan a couple of months ago, I had some fleece in dyes. I try wherever possible to use as little energy as possible, so where heat is not necessary, I leave it to soak to get the desired effect. As a result, the fleece had been in the dyes for over a month, and I wondered if I would have to get rid of the fleece/dyes. In fact the vibrancy of the colours was wonderful (only two had been left, logwood purple, and madder) comparing to my usual method of 24 hours or so in the dyes. Now obviously this has taught me a lesson, but bear in mind that although I am happy to do slow dyeing, slow dyeing to the point of not dyeing much at all takes the biscuit (as it were). So I think a happy compromise is to leave it in the dye pot for say a week from now on, and see what happens. Again, pretty slow, but this is the price of not using energy, and I am happy with that. I have included piccies above showing the normal method, and the lengthy method to show you what I mean about intensity. However, as usual with photography, it doesn't quite show the difference in full. I am happy with both sets of fleece, and can obviously use both techniques for whichever result I am after. The experimenting continues!
On another note, I am trying to get the ultimate happy place to spin in an evening. Have you obtained this yet? I spin on different wheels depending on when I spin, where I spin and what I am wanting to spin. However, in the evening, it tends to be just vegetative spinning, and I want comfort and ease. I have discovered a little used chair in the corner is ideal. Not one that is particularly comfy to sit in to watch tv etc, but is a good height to be at the same level as the flyer when feeding fleece into the orifice. This is my ideal place, and will hopefully mean I can sit down to spin without any fuss and getting into the right position. Finally, I have so enjoyed getting back to business after the grief of the last few months. It is wonderful to have the time to handle matters in The Spinning Shed (and next week I am trying splash dyeing with natural dyes). Thank you for the good thoughts and wishes of those who have been in touch. It has been appreciated. With love and light Michelle |
Archives
July 2022
Categories
All
|


 RSS Feed